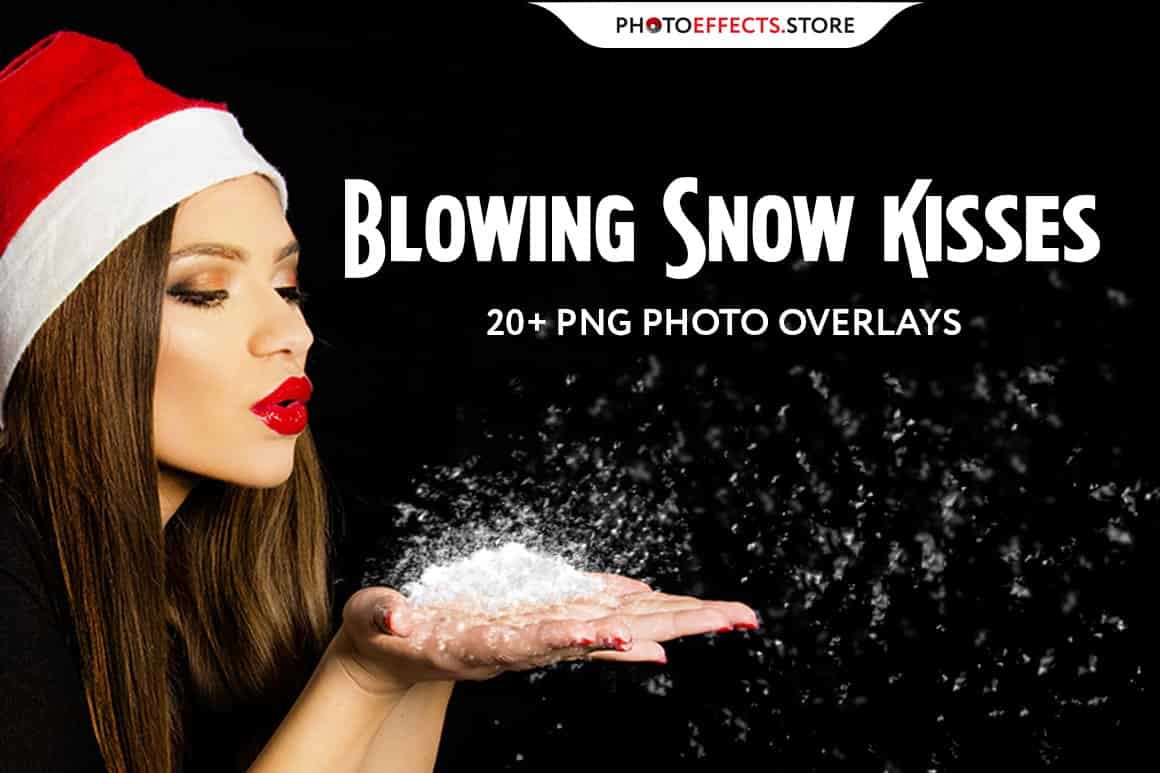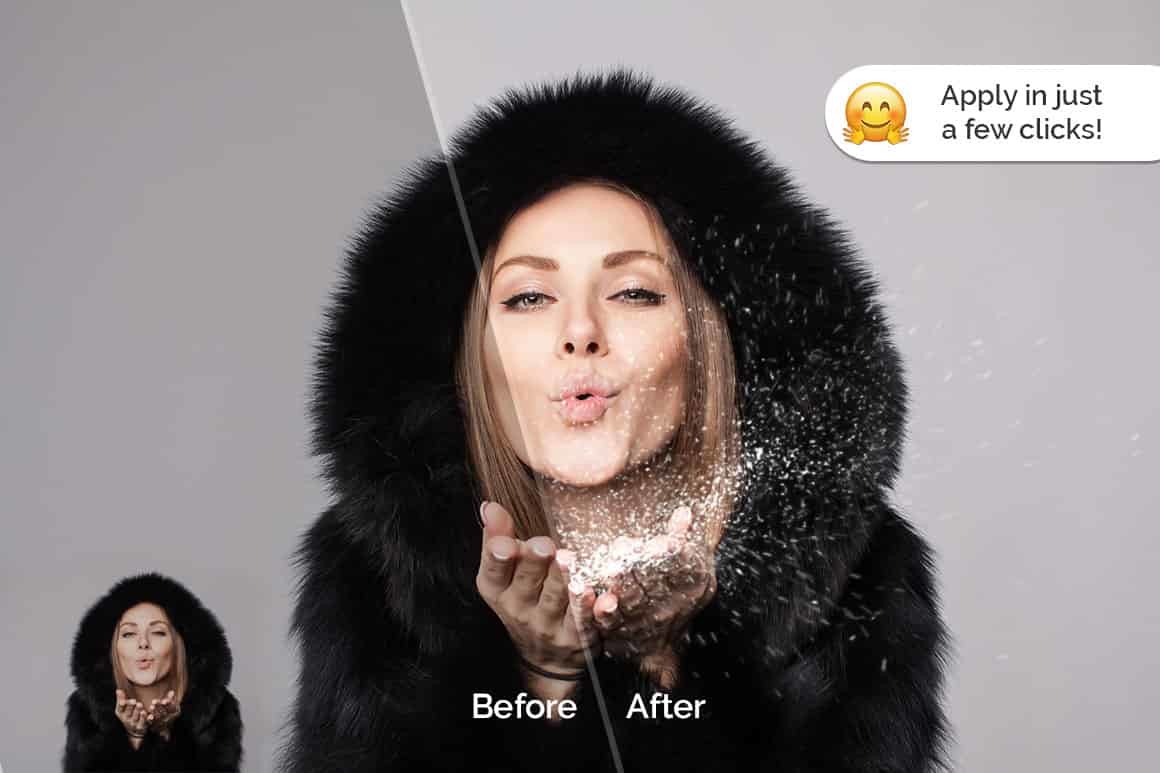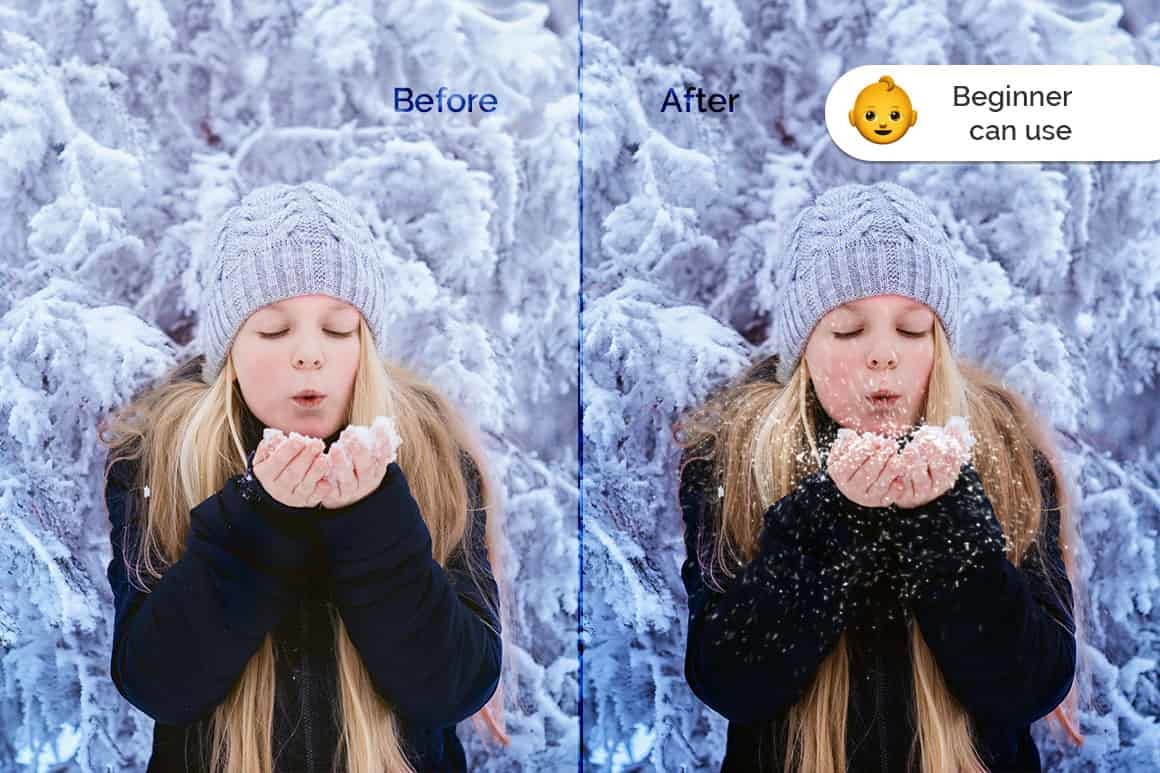


“想象一下你的照片在这些吹雪之吻的气氛中……
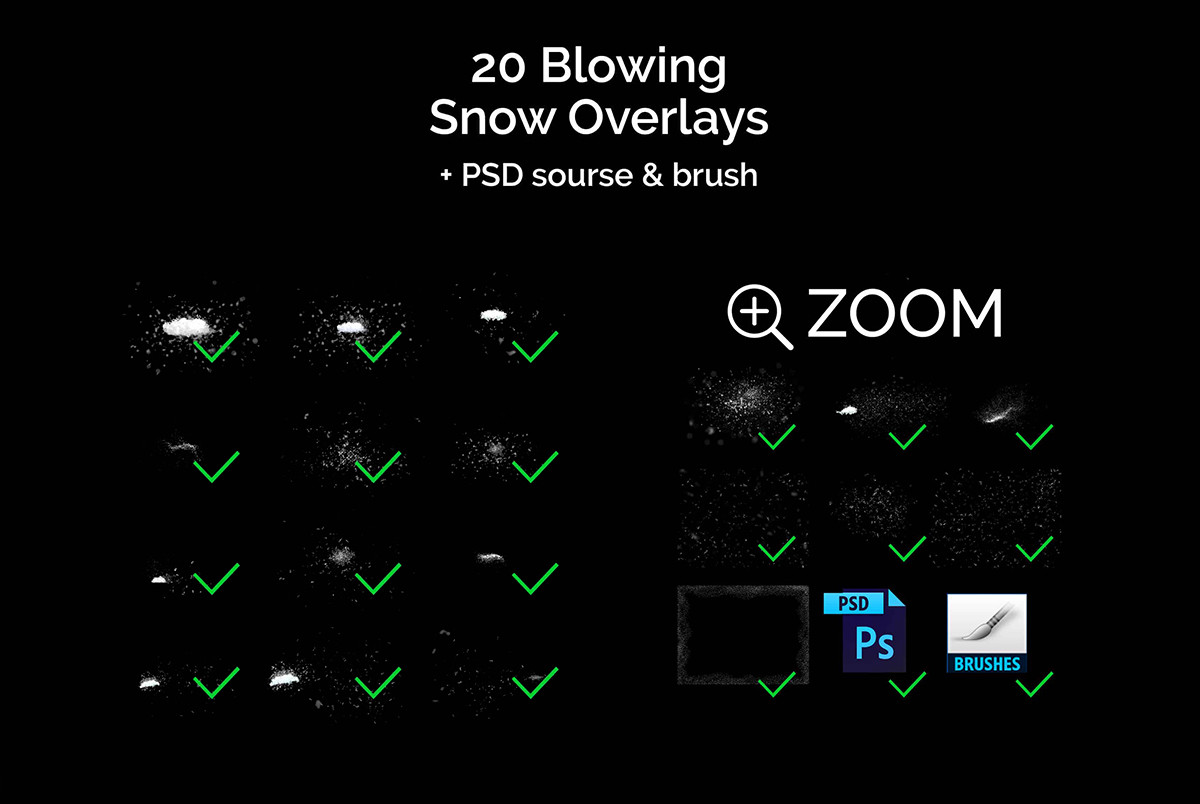
我介绍了这组 20 个吹雪之吻 PNG 照片效果,它可以帮助您为任何照片制作完美的构图。
Sometimes it’s so difficult to capture ? the right moment, but you want to make a great result quickly and easily.
Don’t waste your time, enjoy results using photoshop overlays! ?”
DETAILS & SPECIFICATIONS
– 20 PNG files
– Width 4500 px
– Friendly instructions inside
KINDLY NOTE
1. After complete downloading the archive ‘026. 20+ Blowing Snow Kisses Photo Overlays.zip’ will be downloaded to the ‘Downloads’ folder or the one you selected.
2. Unzip the archive into a folder. Do not be discouraged if the folder images with a black background. There is a Screen Blend Mode that allows you to remove the black background by displaying only objects in Photoshop.
3. Open Photoshop, open an image that you will apply and follow one of the ways below.
INSTRUCTIONS
There are 3 ways to apply photo overlays:
1st – using Overlay Actions (include)
2nd – using Quickstart PSD course (include only in PRO version)
3rd – standard, Drag’n’Drop method
1ST WAY: OVERLAYS ACTION
This method is more progressive because it allows you to quickly apply overlays from any folder, even from other sellers. In the settings of the action, you can set the hotkey F3 (for example) so that in one click you call this action
1. Double-click on the ‘Overlay Actions.atn’ file to load it into Photoshop. Once installed, please access the Actions panel within Photoshop by clicking on ‘Window > Actions’. There are 2 actions: JPEG and PNG Overlays. The difference between Overlay Action JPEG and Overlay Action PNG is that JPEG applies the Screen Blend Mode.
2. Find ‘Overlays Action’ and press Play action what you need.
3. Photoshop dialogue box opens and prompts you to select the file. Click ‘Continue’ and find the folder you unzipped and select the image you like. This image will immediately get into your Photoshop file where the photo is open.
4. Scale, rotate or reflect the overlay if you want
5. Press Cmd (Ctrl) + Enter and the action will create a layer mask and two adjustment layers. If necessary, apply a black brush on the layer mask to hide the image where necessary, and in the correction layers, adjust the color or Levels so that the overlay looks appropriate for the photo.
6. Save the image and show your customers, they will be pleasantly surprised by the result
2ND WAY: Quickstart PSD COURSE
此方法允许您在 Photoshop 文件中工作,您可以在其中选择您喜欢的叠加层,使图层可见。这很方便,因为您可以在图像图层的缩略图中看到它,但是在某些版本的 Photoshop 中文件可能无法正确打开,这很不方便。此功能是可选的,按原样提供。
第三种方式:拖放
3.1 从文件夹中拖动任何图像并将其放入 Photoshop 文件中。对于具有黑色背景的图像,应用屏幕混合模式。要更改混合模式,请双击图层,图层样式窗口将打开。更改混合模式并继续下一步。对于具有透明背景的叠加层,您无需执行任何操作。
3.2 缩放、变换、降低不透明度或在必要时在叠加层上添加图层蒙版和绘画。
如果发现分享VIP资源我们将取消会员资格
1. 本站所有资源来源于用户上传和网络,如有侵权请邮件联系站长!
2. 分享目的仅供大家学习和交流,请不要用于商业用途!
3. 如果你也有好素材或者教程,可以到审核区发布,分享有金币奖励和额外收入!
4. 本站提供的素材、教程、插件等等其他资源,都不包含技术服务 请大家谅解!
5. 如有链接无法下载、失效或广告,请点击后面字体→到投诉版块区举报,可领回失去的金币,并额外有奖!
6. 如遇到加密压缩包,默认解压密码为"www.vscops.com",如遇到无法解压的请联系管理员!
---------------DMCA-版权申明------------
免责声明:1》. 本站出于学习和研究的目的提供平台共会员进行交流和讨论,网站资源由会员从网上收集整理所得,版权属于原作者。
2》. 网站所有资源是进行学习和研究测试之用,不得以任何方式用于商业用途。请在下载后24小时删除。
3. 本站非常重视知识产权,如有侵犯任何第三方权益,请发邮件(Email:luzhaoyao02@gmail.com)及时联系,邮件请附(专利证书、商标注册证、著作权证书,以及知识产权人授权投诉方进行投诉的证明文件等有效证明),我们将第一时间核实并删除侵权帖子(3个工作日内处理完并邮件答复)。


评论(0)